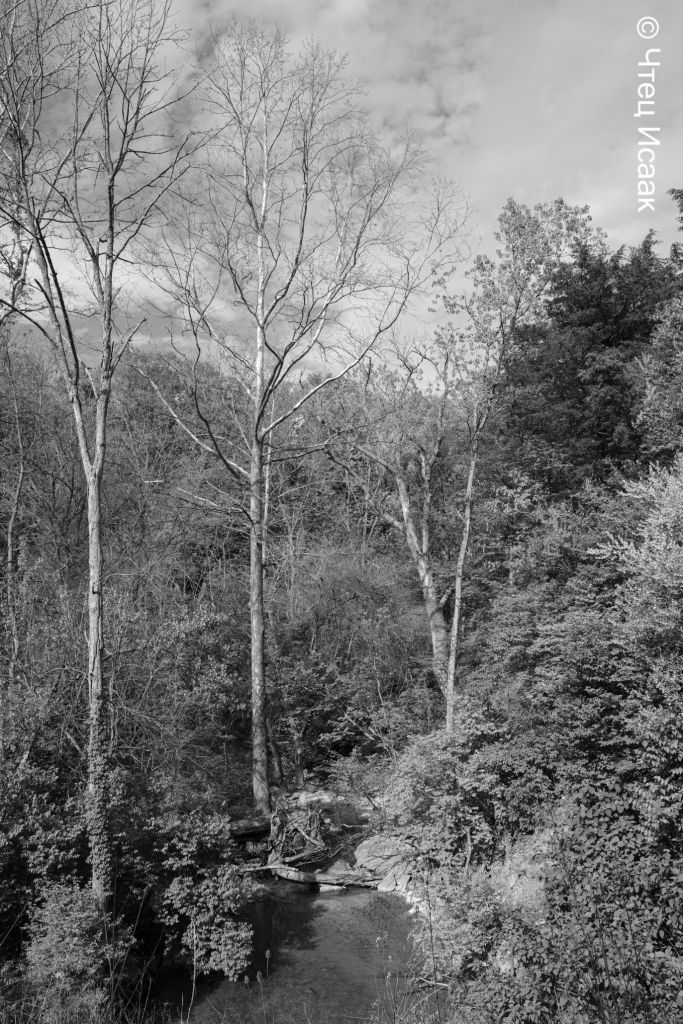
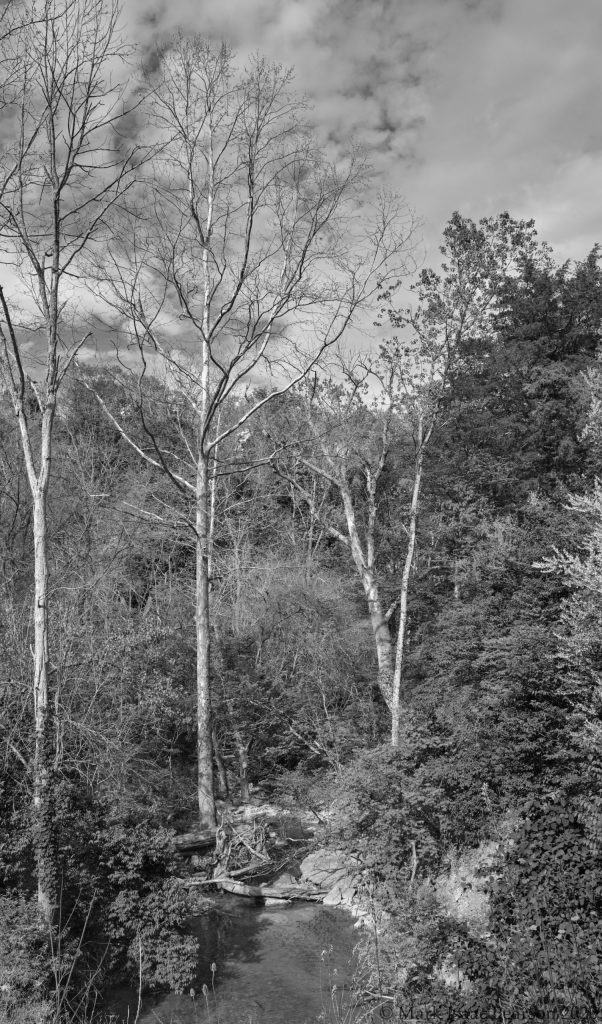
Example # 1
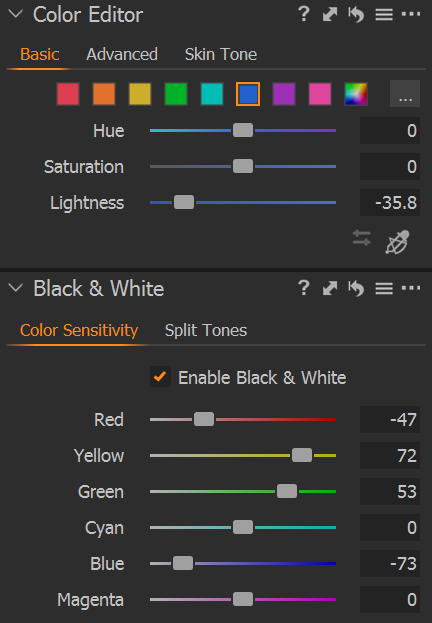
Here are screenshots of the settings used :
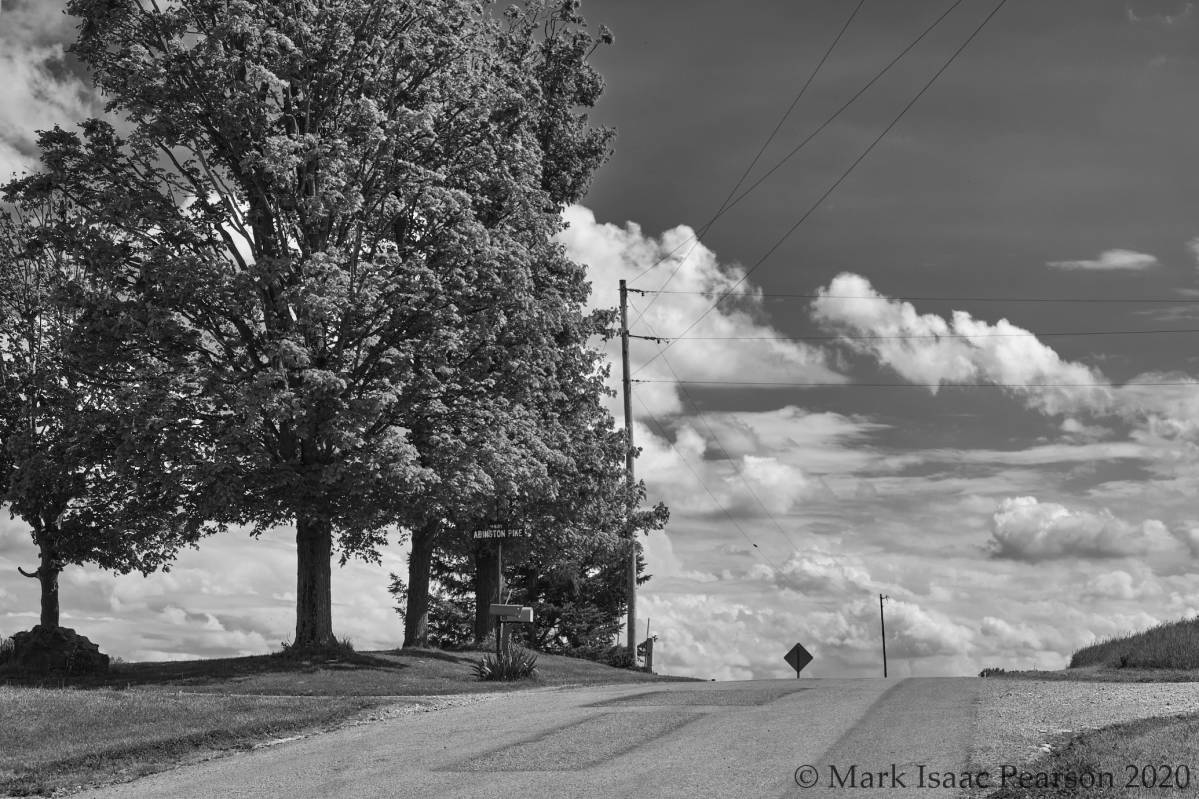
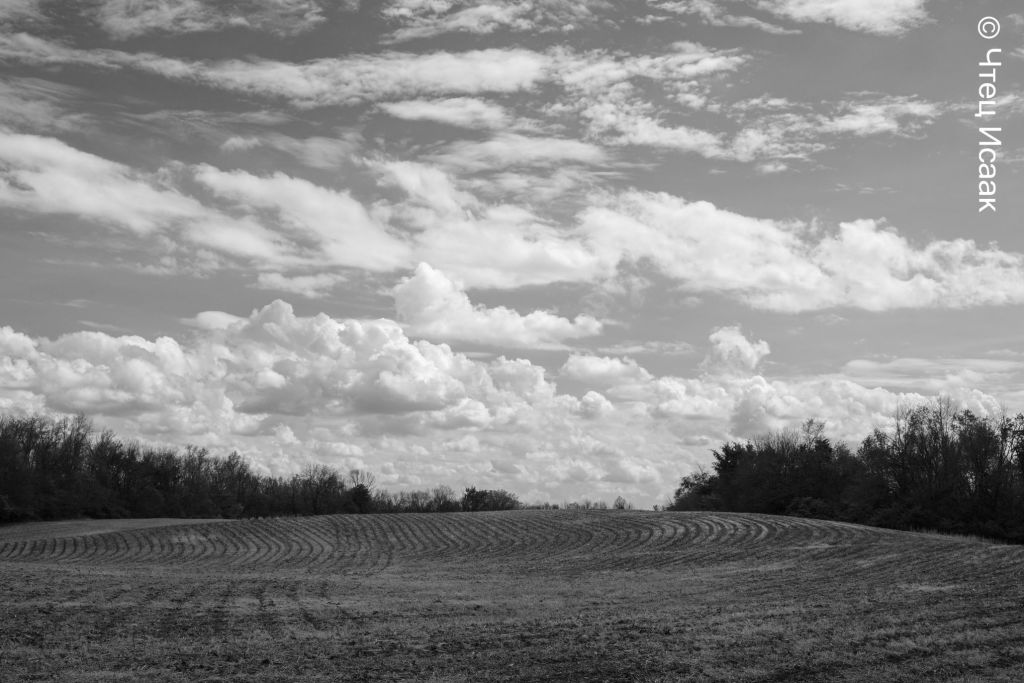
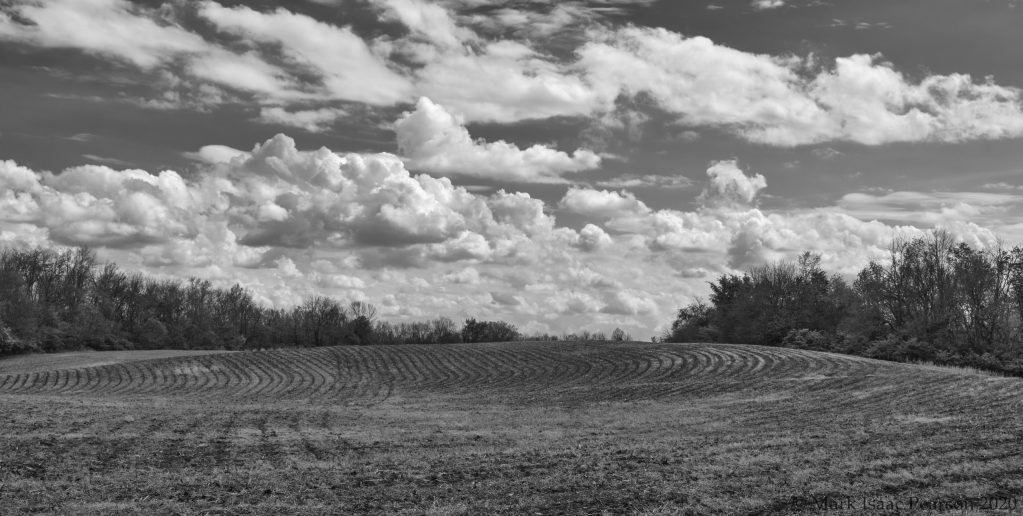
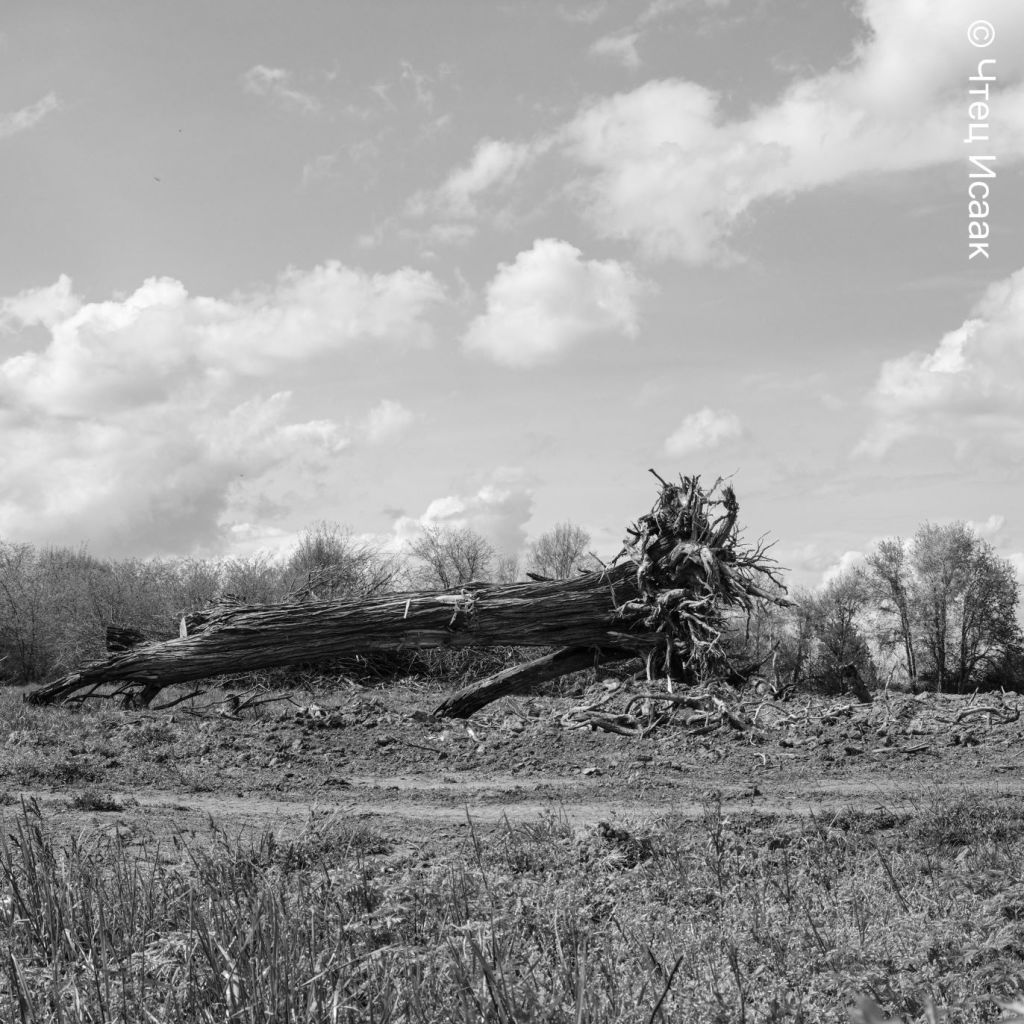
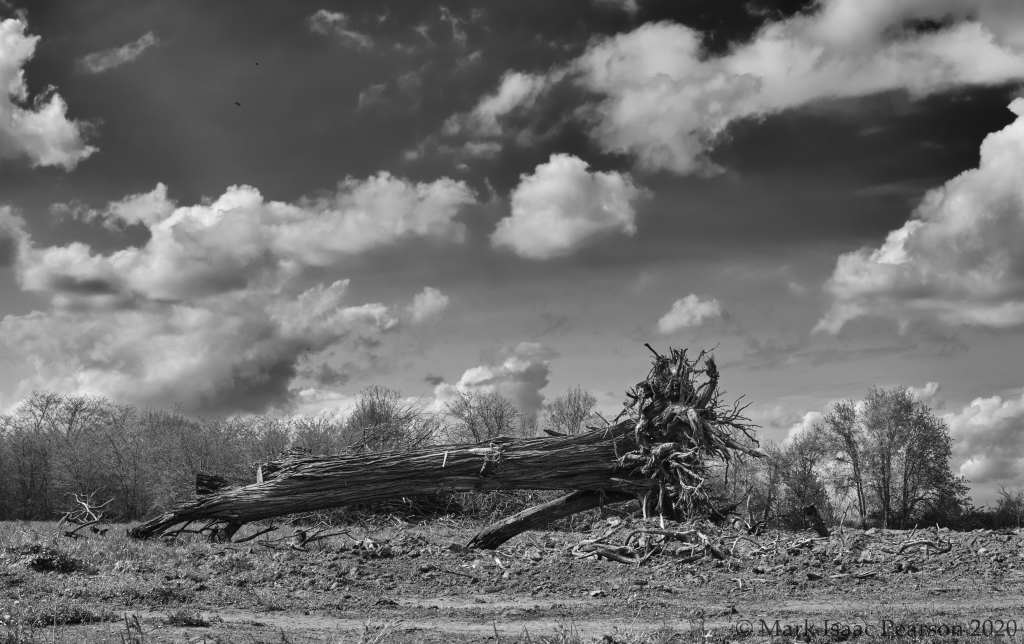
First of all I cropped so that the horizon was on a third horizontal. I pulled back the Highlight in HDR to accentuate the clouds. I added some clarity and structure to bring out the detail. In the Color Editor I darkened the Blue to accentuate the sky. Converting to Black & White I upped the Green and Yellow levels to lighten up the foliage in the middle. Then I pulled back the Blue & Red to darken the sky and earth tones respectively. You can see the difference between the jpg off camera & my efforts with the RAW file.
Example #2
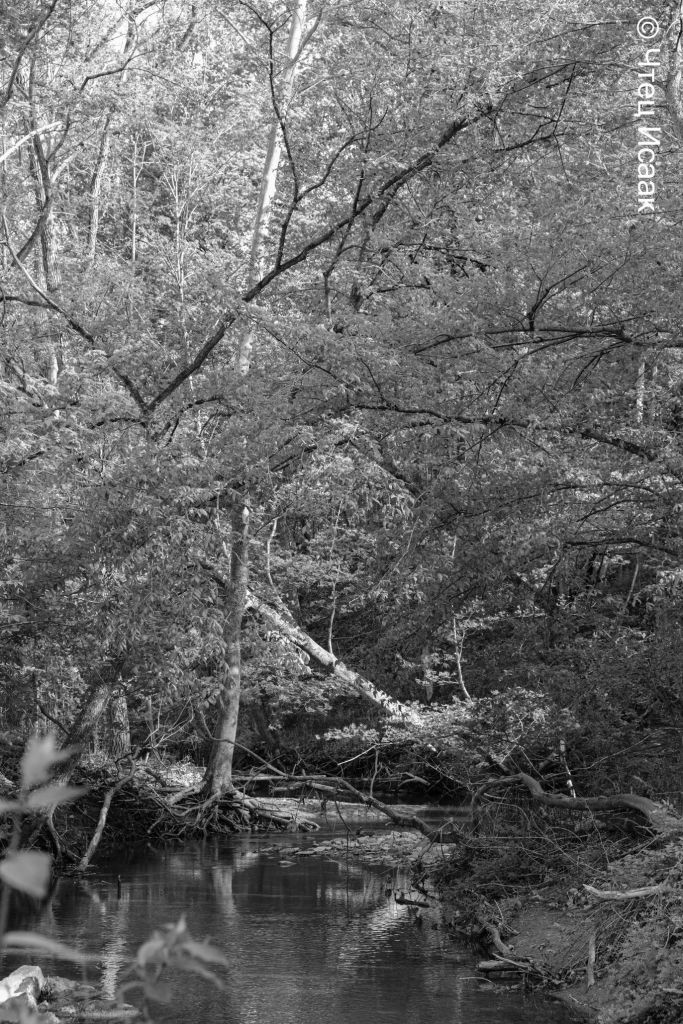
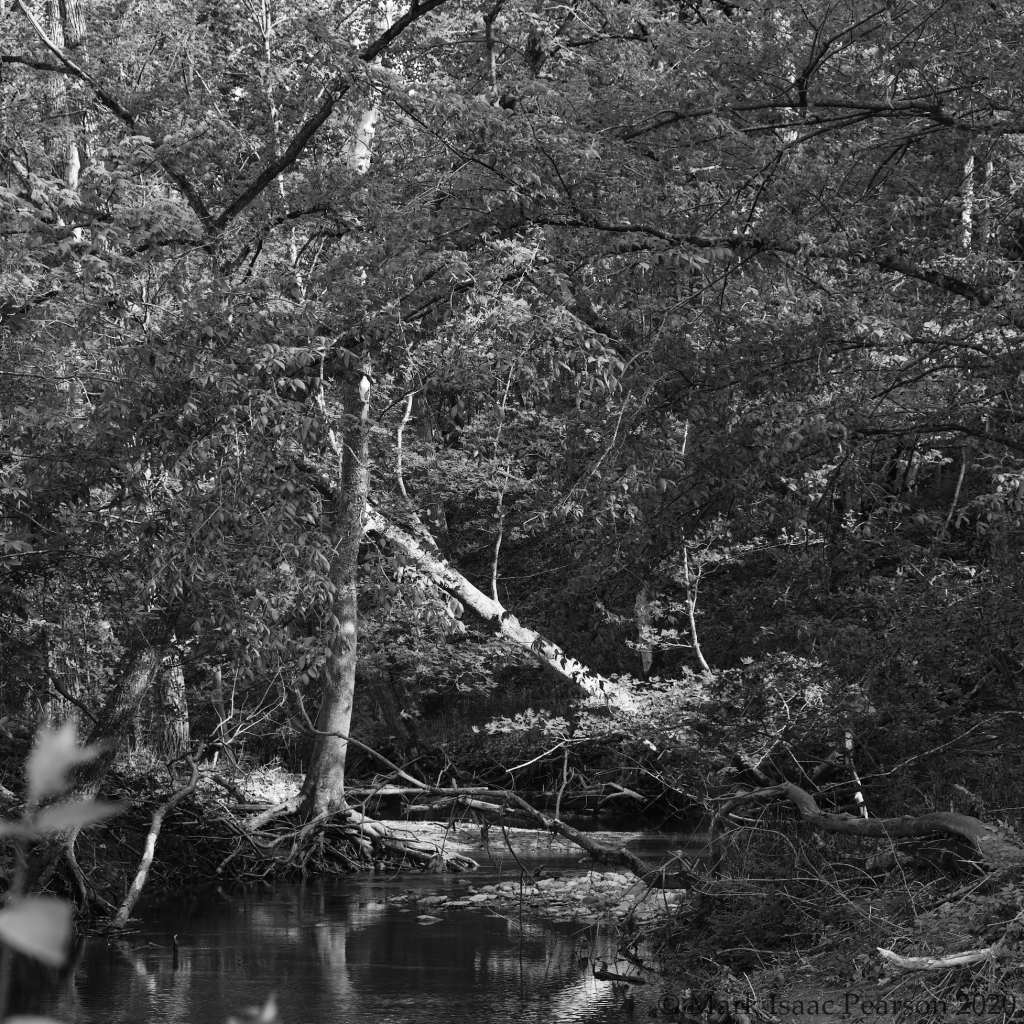
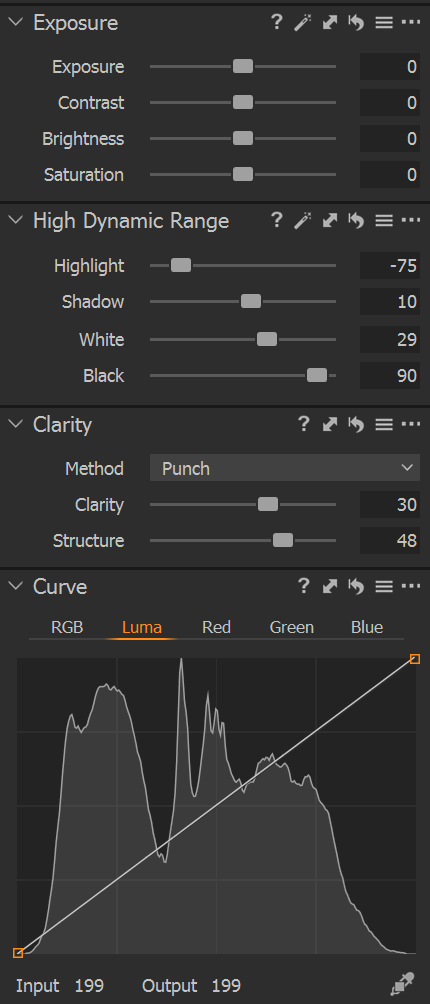
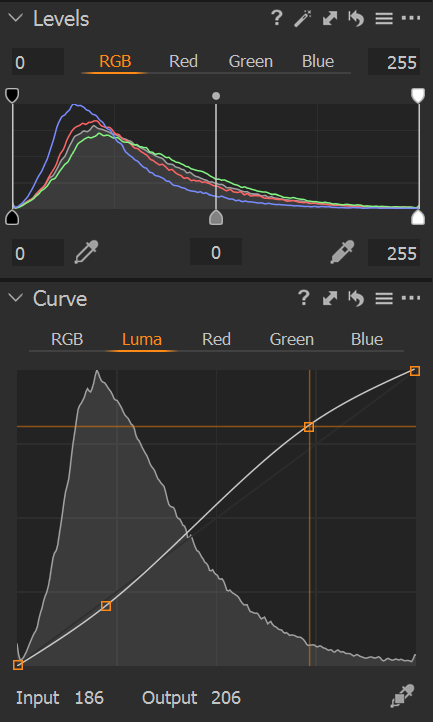
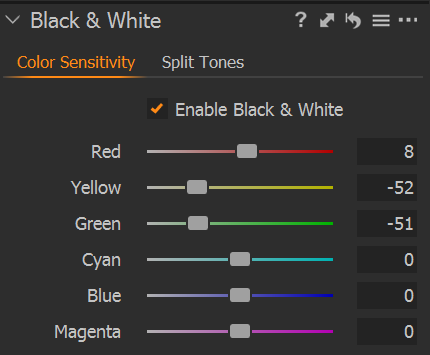
Settings used:
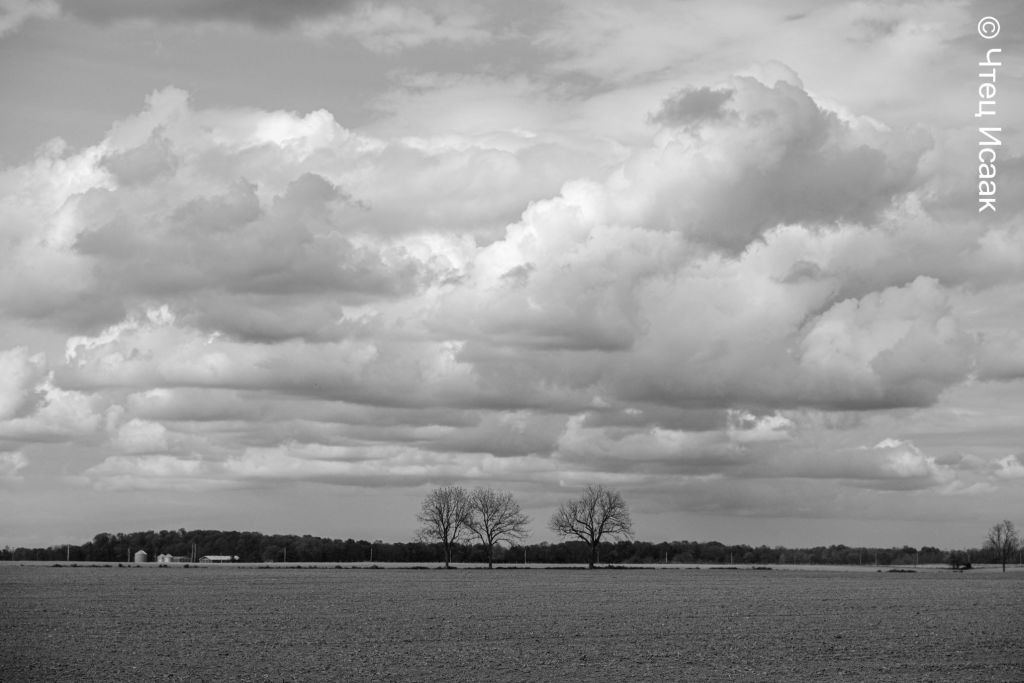
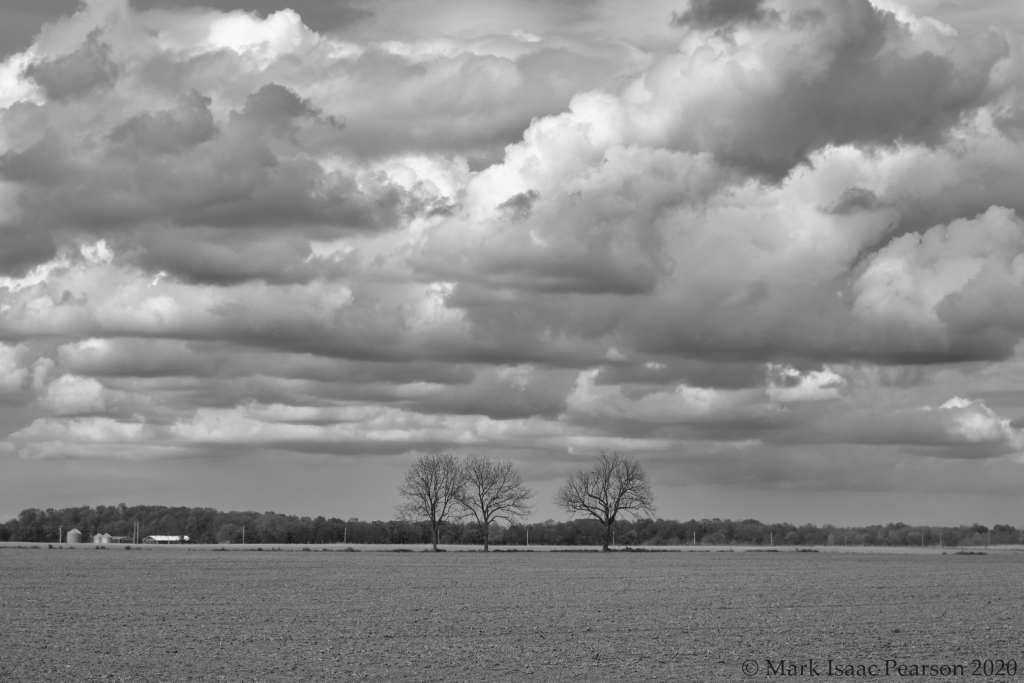
The major thing I did differently with this photo was to tweak the Curve : Luma. I took a point on the straight-line curve which corresponded to the peak of the curve in the shadows and then pulled it down a wee bit, and then at the equivalent end in the highlight end I pulled up by the same amount (see the Input/Output numbers on the graphic). This gives a slight S-shaped curve which is apparently characteristic of the luma response of black&white film emulsion.
I think I will try the technique on more images to assess its usefulness.
Gallery
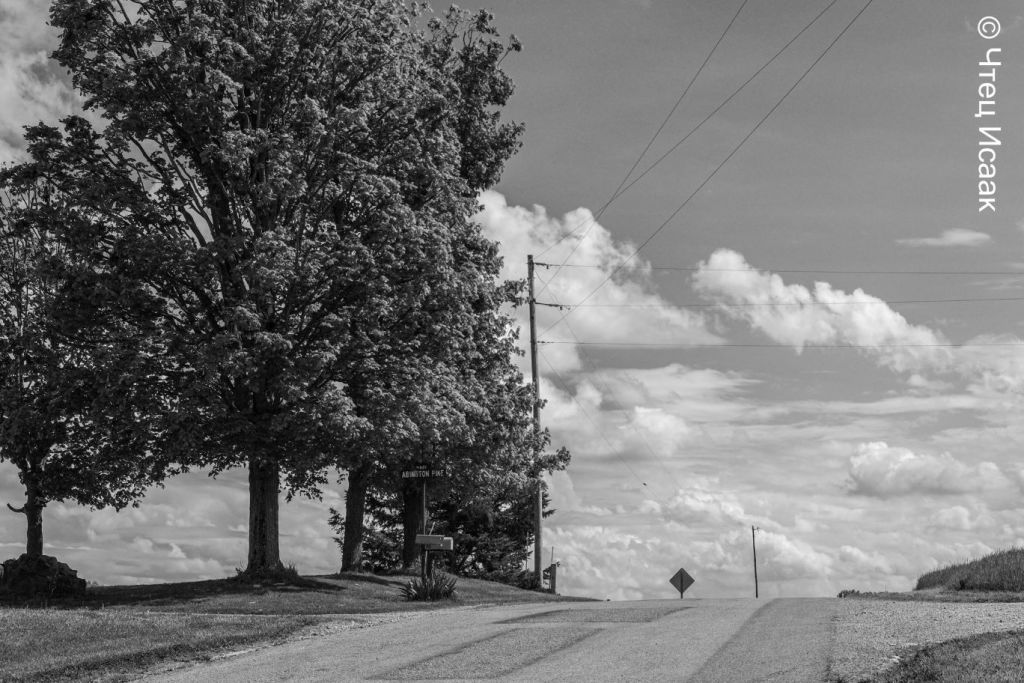
This gallery of pairs of photos shows the off-camera jpeg using the ACROS+Red Fuji film simulation immediately followed by the RAW edited in Capture One.
