to Monochrome output
In the past four or five years I switched from Nikon (D600)+Panasonic (GX-7) to Fuji (XT-2, XT-30). There will be another posting about this switch. I have also used Adobe Lightroom for quite q while and became accustomed to its user interface and method of working. But on certain photo subjects I was getting what the experts called “wormage” — seriously. After a lot of research I discovered the reason — Adobe Lightroom does not handle demosaicing of x-trans RAF files very well; see Fuji cameras, x-trans sensors and RAW processing article for details. I still use Lightroom for the DAM (“Digital Asset Management” I think) but I have started to do most of my processing in Capture One and I have to say that it’s working out well.
So here’s what I found is a reasonable process to deal with monochrome shots (on shooting black & white, see here young man!). Comments abiout improving this would be well received!
Shooting tips
Configure your Fuji camera to shoot in RAW + JPG at the highest setting.
For film emulation choose ACROS + Red filter. This enhances skies.
On the XT-30 I configure the Q button to do focussing and the shutter release for exposure & taking photo. See another posting why I’ve had to do this (the location of the Q button is a royal pain).
in Light Room
1. Import from SD Card into Lightroom — configure the Preferences to make sure that no sharpening is applied to the RAW files (just to be on the safe side).
2. Select top shots (using * or ‘pick’) and ‘X’ out all shots to throw away — be bold! I find that I select no more than half a dozen ‘keepers’ from most shooting sessions, and usually a lot less. Group selected shots as separate JPG & RAW into a Collection.
3. Export the Collection into a named Catalog somewhere sensible. You will import this catalog into Capture One. Note that this will duplicate the files (can be a Good Thing). While still in LR delete all the rejects — be bold!
4. Quit LightRoom to free up Memory and screen space.
in Capture One
1. Use File > Import Catalog > LightRoom Catalog and select the appropriate .lrcat file in the well named and sensible location you used to store the LR Catalog (eg Pictures > LR to Capture 1)
Problem :
The RAW file is initially displayed by default in monochrome. But we need it in colour in order to manipulate the colours, exposure, levels, saturation etc. So :
2. Choose Color > Base characteristics > Curve
was : Auto
choose : Film standard / Provia or other color emulation
3. Fix Exposure > White Balance.
Using the dropper on a greyish cloud will often give a good result. You don’t want the white balance to warm up too much. Try different areas of the image to get a better idea & press Ctrl-Z after each to return to default. If you fail to find a better setting than the out-of-camera setting one of the set levels , Daylight, Cloudy etc might work.
4. Cropping.
This depends a lot upon the subject matter of the image and how it’s balanced. You can configure the Crop tool to have alignment gridlines in thirds. Rt-click on Crop tool and select ‘unconstrained’ to start with. Play around with some of the standard aspect ratios to get a sense of what looks best. Don’t forget that Square can be good too! I generally try to align a strong vertical or horizontal with a third and crop accordingly.
Do this before applying image corrections because it will affect the Histogram.
My experience with the metering on Fujifilm cameras that I have used is that it tends to underexpose. So I often apply a + exposure compensation when shooting (up to +1 in third of a stop increments). But sometimes even this is not enough.
5. Adjust Exposure to take the white fluffy clouds to the far right of the Histogram just shy of clipping. Don’t worry — we’ll pull back most any over-exposure. Make sure the Exposure Warning is on — clipping will be indicated by red patches on the image.
Don’t touch Contrast, Brightness, or Saturation settings in the Exposure box. These are sledgehammers!
6. The clouds will now be much too bright probably. In High Dynamic Range box pull back the Highlight setting with ferocity. You can even go up to -100 ! Now you’ll observe the fluffy clouds have fabulous definition to them.
7. Now we’ll improve definition overall using the Clarity box. Choose Method : Punch and increase Clarity and Structure to taste, but not too much. I need to read up more on these tools.
Note that the exposure also changes as a result & darkens up.
8. Now in the Exposure box adjust Shadows, & Blacks to recover some egregious clipped underexposure and increase White to brighten up the clouds (still leaving the great definition intact).
9. Now we’ll fix the sky colour to bring up the blues and deepen the contrast with the clouds. Choose Color box > Color Editor > Basic : Blue — slide Lightness into negative. Also try out Cyan.
[I should also learn how to use the Color Balance Tool but right now it’s beyond me].
10. Now we should have an image with good colour contrast and saturation plus tons of detail and we’re ready to convert to Black & White.
Note that all of these operations have been global — I have not done anything with Layers, local edits, Luma selection (ultra cool). If these were competition shots I would certainly look to employ one or more of these approaches.
Convert to Black & White
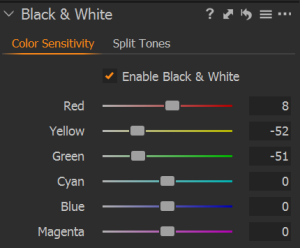
In Black & White box, check Enable Black & White.

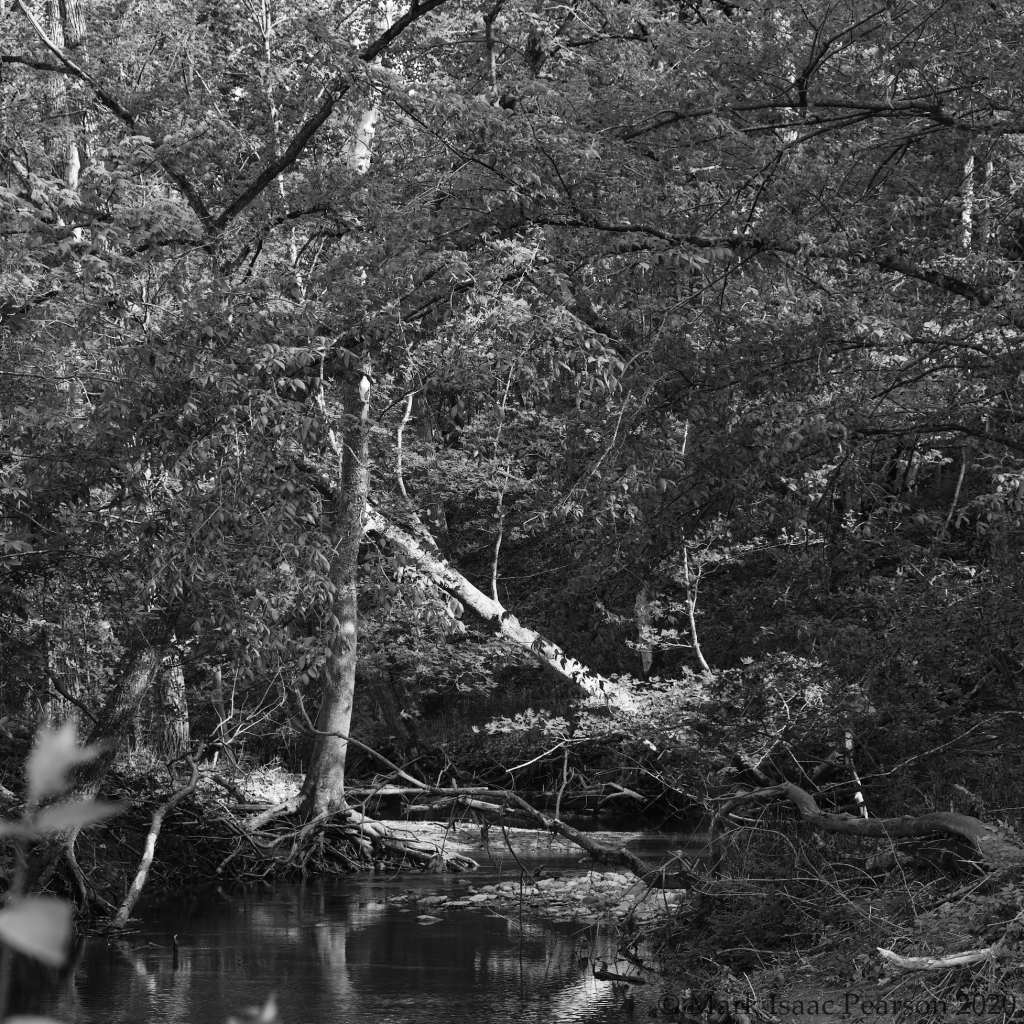
Now, here’s the cool thing. You can manipulate the grey sensitivity to each colour independently. You’re not restricted to a fixed mapping of colour to grey level. This can be incredibly useful as we’ll see in the next post. In the example above I have backed off the yellow & green levels to darken up the foliage. The great thing is that you see the tonal effect on the image as you move the sliders.
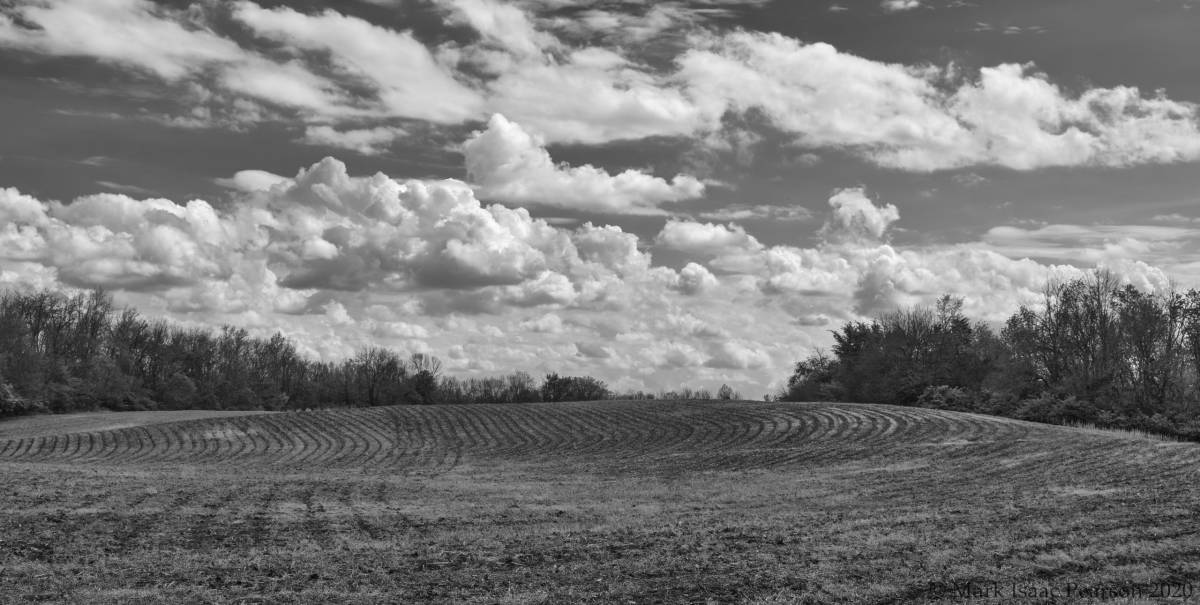
Here’s the image that these B&W settings are associated with :
Note that this is a totally different mechanism to the Color Filters of NIK Silver Fx which act more like a lens filter.
In the next post we’ll look at some photos and the settings I used to enhance them to produce B&W images.

